
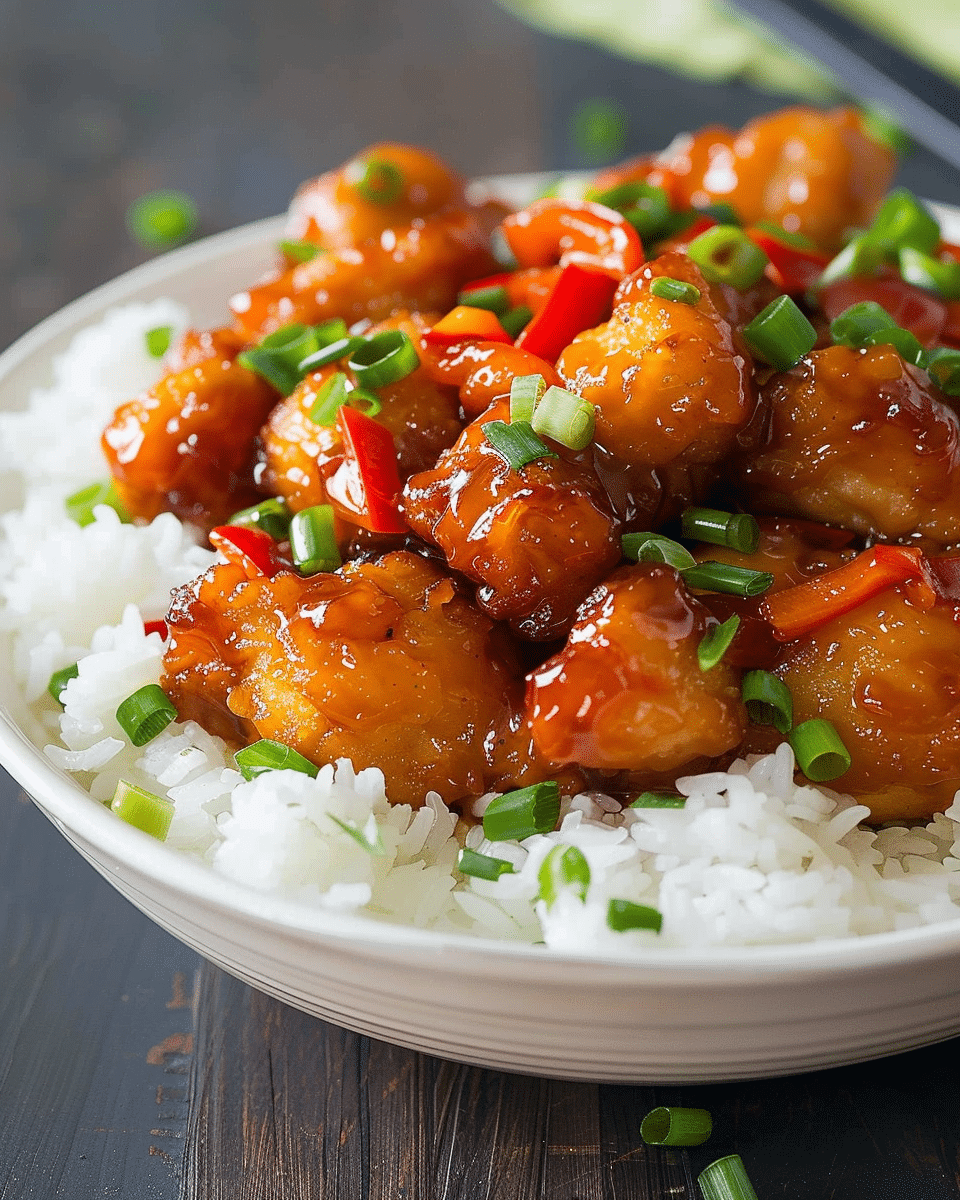
Why You’ll Love This Recipe
This sweet and sour chicken recipe is a perfect combination of crispy chicken and a vibrant sauce. The chicken is first browned to perfection, then baked in a tangy, flavorful sweet and sour sauce, resulting in a dish that is both satisfying and full of flavor. The best part? It’s served over rice, making it an all-in-one meal that is hearty and filling. Whether you’re cooking for a family dinner or a casual get-together, this dish is sure to impress.
Ingredients
(Tip: You'll find the full list of ingredients and measurements in the recipe card below.)
-
2 ½ lbs boneless skinless chicken breasts
-
Salt and pepper to taste
-
1 cup cornstarch
-
3 eggs, lightly beaten
-
¼ cup vegetable oil
-
1 cup sugar
-
6 tablespoons ketchup
-
¾ cup apple cider vinegar
-
1 ½ tablespoons soy sauce
-
1 ½ teaspoons garlic powder
Directions
-
Cut the chicken into bite-sized chunks. Season with salt and pepper.
-
Preheat the oven to 325°F.
-
Place the cornstarch in a shallow bowl and the eggs in another separate bowl.
-
Heat the vegetable oil in a large skillet over medium-high heat.
-
Working in batches, dredge the chicken pieces in the cornstarch, then dip them into the beaten eggs.
-
Add the chicken pieces to the hot oil and brown on all sides. You do not need to cook the chicken all the way through; the goal is just to get a crispy exterior.
-
Transfer the browned chicken to a 9x13-inch baking dish and continue browning the remaining chicken pieces.
-
In a bowl, mix together the sugar, ketchup, apple cider vinegar, soy sauce, and garlic powder to create the sauce.
-
Pour the sweet and sour sauce over the browned chicken in the baking dish.
-
Bake the chicken in the preheated oven for 1 hour, stirring every 15 minutes to ensure even coating with the sauce.
-
Serve the sweet and sour chicken over prepared rice.
Servings and Timing
-
Servings: 6 servings
-
Prep Time: 25 minutes
-
Cook Time: 1 hour
-
Total Time: 1 hour 25 minutes
Variations
-
Add vegetables: You can add bell peppers, onions, or pineapple chunks to the dish to give it more color and flavor.
-
Make it spicier: If you like a little heat, add some crushed red pepper flakes or chili sauce to the sauce mixture for an extra kick.
-
Use other proteins: While chicken is a classic choice, you can substitute boneless pork chops or tofu for a different protein.
-
Gluten-free option: Use a gluten-free soy sauce and ensure your cornstarch is gluten-free for a tasty gluten-free version.
Storage/Reheating
-
Storage: Leftover sweet and sour chicken can be stored in an airtight container in the refrigerator for up to 3-4 days.
-
Reheating: Reheat the chicken in the microwave or on the stove over medium heat. If reheating on the stove, add a splash of water or broth to help prevent the sauce from thickening too much.
FAQs
How do I make the chicken crispy before baking?
To make the chicken crispy, it is important to dredge it in cornstarch and then dip it in beaten eggs before frying in hot oil. Browning the chicken in oil helps to create a crispy exterior, even though it will bake further in the sauce.
Can I use chicken thighs instead of chicken breasts?
Yes, you can use boneless, skinless chicken thighs for a slightly juicier and more flavorful dish. Just be sure to adjust the cooking time if needed.
Can I make the sweet and sour chicken ahead of time?
Yes, you can prepare the chicken and sauce in advance, store them separately in the fridge, and then bake them just before serving. This can save time if you're making it for a large meal or event.
Can I use a different type of vinegar?
While apple cider vinegar is the most common vinegar used in this recipe, you can substitute it with rice vinegar or white vinegar for a slightly different flavor profile.
Is this dish spicy?
This sweet and sour chicken is not spicy, as it focuses more on the sweet and tangy flavors. If you prefer a spicier version, you can add chili flakes or hot sauce to the sauce mixture.
Can I serve this with other sides besides rice?
Absolutely! This dish can be paired with noodles, steamed vegetables, or a fresh salad to complement the flavors.
What kind of rice is best for this dish?
White rice, jasmine rice, or basmati rice are great options for serving with sweet and sour chicken. These types of rice will absorb the sauce well and add a fragrant touch to the meal.
Can I freeze leftover sweet and sour chicken?
Yes, you can freeze the sweet and sour chicken. Store it in an airtight container or freezer-safe bag for up to 3 months. When ready to eat, thaw it in the refrigerator and reheat it as needed.
How do I make the sauce thicker?
If you'd like a thicker sauce, you can whisk in a small amount of cornstarch mixed with water into the sauce while cooking. This will help it thicken up as it simmers.
Can I bake the chicken without frying it first?
For a lighter version, you can skip the frying step and bake the chicken directly in the oven. However, this will result in a less crispy texture compared to frying first.
Conclusion
Sweet and sour chicken on top of rice is a classic, flavorful meal that brings together crispy chicken and a tangy sauce, all served over a bed of fluffy rice. It's an easy dish to make, packed with flavor, and customizable to suit your tastes. Whether you're serving it for a family dinner or a special occasion, this dish is sure to be a hit!
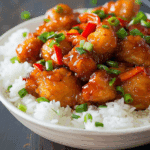
Sweet and Sour Chicken on Top of Rice
5 Stars 4 Stars 3 Stars 2 Stars 1 Star
No reviews
Sweet and sour chicken on top of rice combines crispy, tender chicken chunks with a tangy sauce, creating a flavorful, hearty meal that is sure to please the whole family.
- Author: Janet
- Prep Time: 25 minutes
- Cook Time: 1 hour
- Total Time: 1 hour 25 minutes
- Yield: 6 servings
- Category: Main Course
- Method: Baking and frying
- Cuisine: American
- Diet: Gluten Free
Ingredients
2 ½ lbs boneless skinless chicken breasts
Salt and pepper to taste
1 cup cornstarch
3 eggs, lightly beaten
¼ cup vegetable oil
1 cup sugar
6 tablespoons ketchup
¾ cup apple cider vinegar
1 ½ tablespoons soy sauce
1 ½ teaspoons garlic powder
Instructions
- Cut the chicken into bite-sized chunks. Season with salt and pepper.
- Preheat the oven to 325°F.
- Place the cornstarch in a shallow bowl and the eggs in another separate bowl.
- Heat the vegetable oil in a large skillet over medium-high heat.
- Working in batches, dredge the chicken pieces in the cornstarch, then dip them into the beaten eggs.
- Add the chicken pieces to the hot oil and brown on all sides. You do not need to cook the chicken all the way through; the goal is just to get a crispy exterior.
- Transfer the browned chicken to a 9x13-inch baking dish and continue browning the remaining chicken pieces.
- In a bowl, mix together the sugar, ketchup, apple cider vinegar, soy sauce, and garlic powder to create the sauce.
- Pour the sweet and sour sauce over the browned chicken in the baking dish.
- Bake the chicken in the preheated oven for 1 hour, stirring every 15 minutes to ensure even coating with the sauce.
- Serve the sweet and sour chicken over prepared rice.
Notes
- Add vegetables like bell peppers, onions, or pineapple chunks to the dish for extra flavor and color.
- For a spicier kick, add crushed red pepper flakes or chili sauce to the sauce mixture.
- You can substitute chicken with pork or tofu for different protein options.
- To make it gluten-free, use gluten-free soy sauce and ensure the cornstarch is gluten-free.
- Leftovers can be stored in an airtight container in the refrigerator for up to 3-4 days.
- Reheat leftovers in the microwave or on the stove with a splash of water or broth to prevent the sauce from thickening too much.
Nutrition
- Serving Size: 1 serving
- Calories: 550
- Sugar: 24g
- Sodium: 600mg
- Fat: 14g
- Saturated Fat: 2g
- Unsaturated Fat: 10g
- Trans Fat: 0g
- Carbohydrates: 67g
- Fiber: 1g
- Protein: 38g
- Cholesterol: 80mg


Leave a Reply